It’s also pretty easy to set up. Here’s a step-by-step guide to help:

1. Log into Google Analytics
This is simple. Go to Google Analytics and click on Start Measuring.
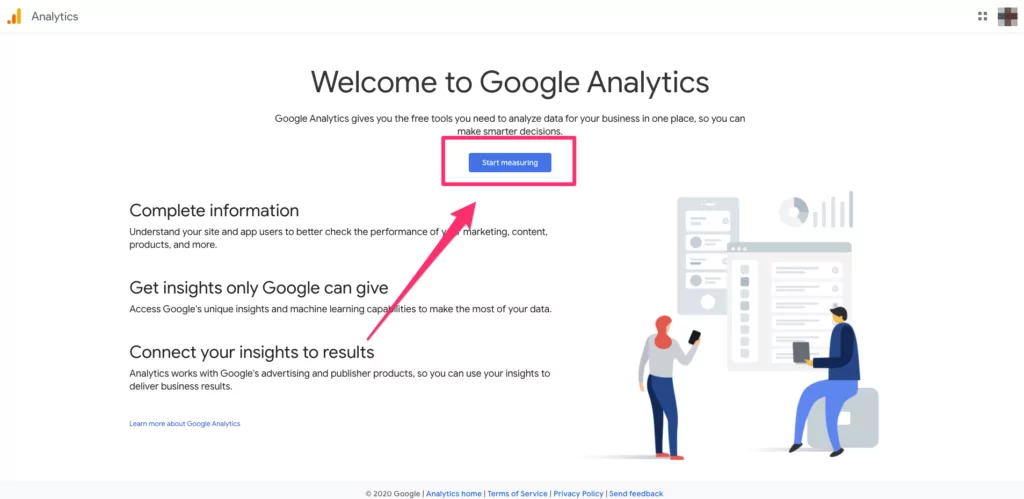
If you’re not logged into a Google account, it’ll ask you to log in to your Google account.
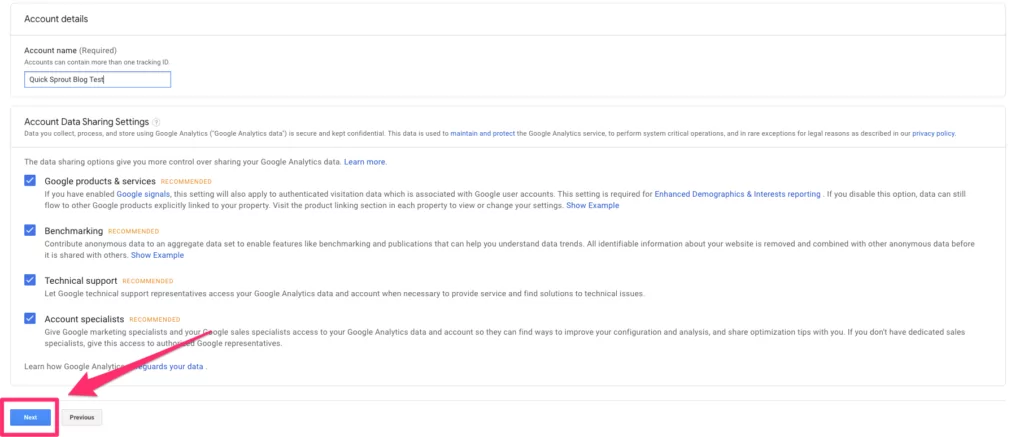
2. Create your Google Analytics account
3. Choose what you want to measure
This screen asks you to choose whether you want to measure a website, an app, or a combination of both. Choose Web since you’re creating a blog.
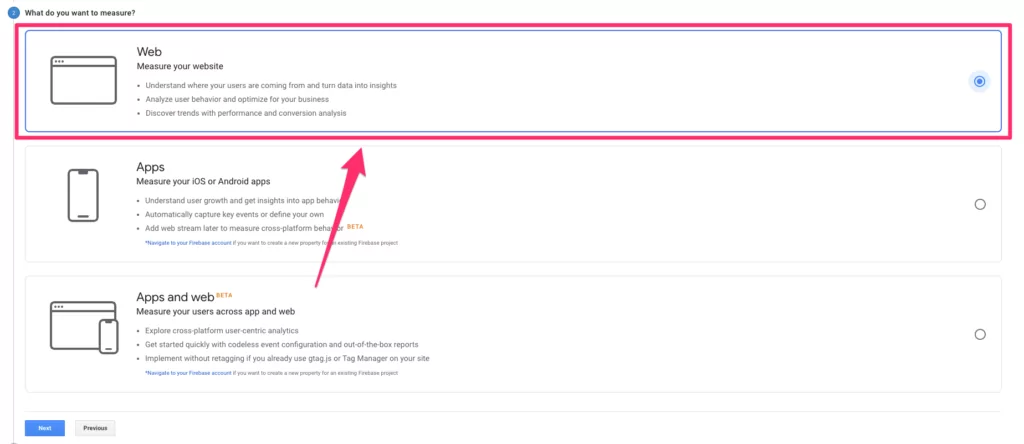
Then click Next.
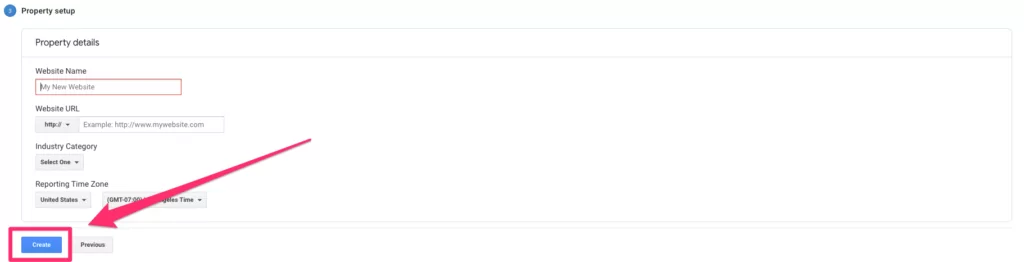
4. Fill in the property details
It’ll now ask you to fill in some details about your website including its name, the URL, your industry category, and your timezone. Once you’ve done that, click on Create at the bottom.
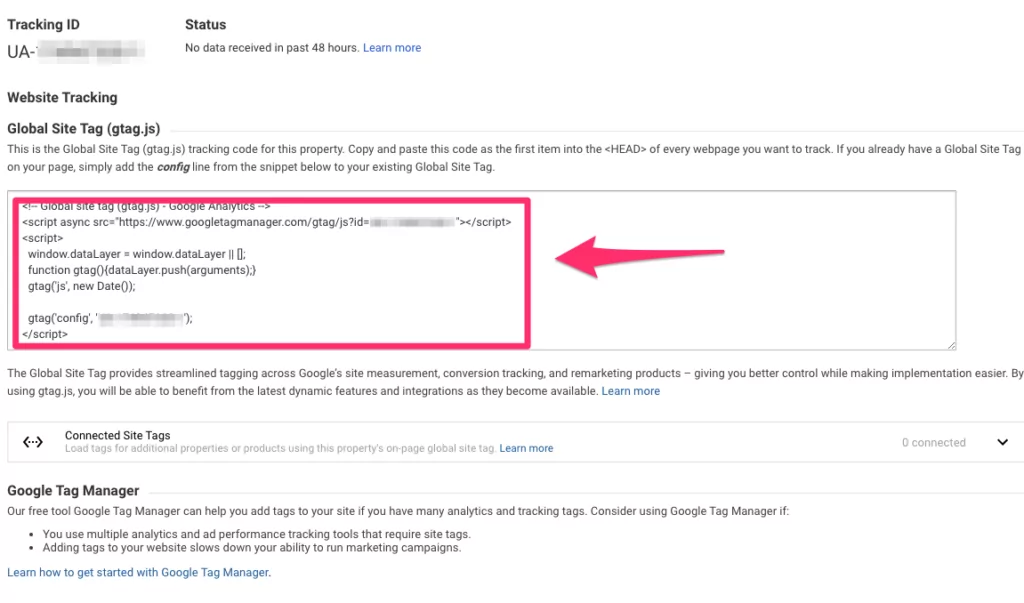
5. Copy and paste the tracking code onto your site
Once your account is created, you’ll have a unique JavaScript tracking code for your site. When you copy and paste that snippet of code into your site, Google Analytics will start collecting data for you.
And that’s it. You are now tracking Google Analytics for your blog.


No comments:
Post a Comment